
DIY Car Tinting: Tips and Tricks from Miami Auto Tinting Experts


Introduction to DIY Car Tinting
Car tinting is a popular modification for vehicle owners in Miami, enhancing both aesthetics and functionality. If you're considering a DIY approach, it's essential to understand the process, the tools required, and some insider tips to achieve a professional finish. This guide will walk you through each step, with expert advice from local Miami auto tinting professionals.
Understanding Car Tint Films
Before you begin, familiarize yourself with the different types of tint films available. Common options include dyed, metalized, hybrid, and ceramic films. Each type offers varying levels of heat reduction, UV protection, and durability. It's crucial to choose the right film based on your needs and budget.
Consider the legal regulations in Miami regarding car tinting. Florida law specifies allowable tint levels for different windows of your vehicle. Ensuring compliance will save you from potential fines down the road.
Tools and Materials Needed
To achieve a smooth, bubble-free finish, you'll need specific tools and materials. Here's a basic list:
- Tint Film
- Squeegee
- Utility Knife
- Heat Gun
- Cleaning Solution
- Lint-Free Cloth
Preparing Your Car for Tinting
Preparation is key to successful car tinting. Start by thoroughly cleaning your windows using a high-quality cleaning solution and a lint-free cloth. This step ensures that no dirt or debris gets trapped under the film.
Next, measure your windows accurately and cut the film to size. Remember to leave a little extra around the edges for adjustments during application. Proper preparation can make a significant difference in the end result.
Application Techniques
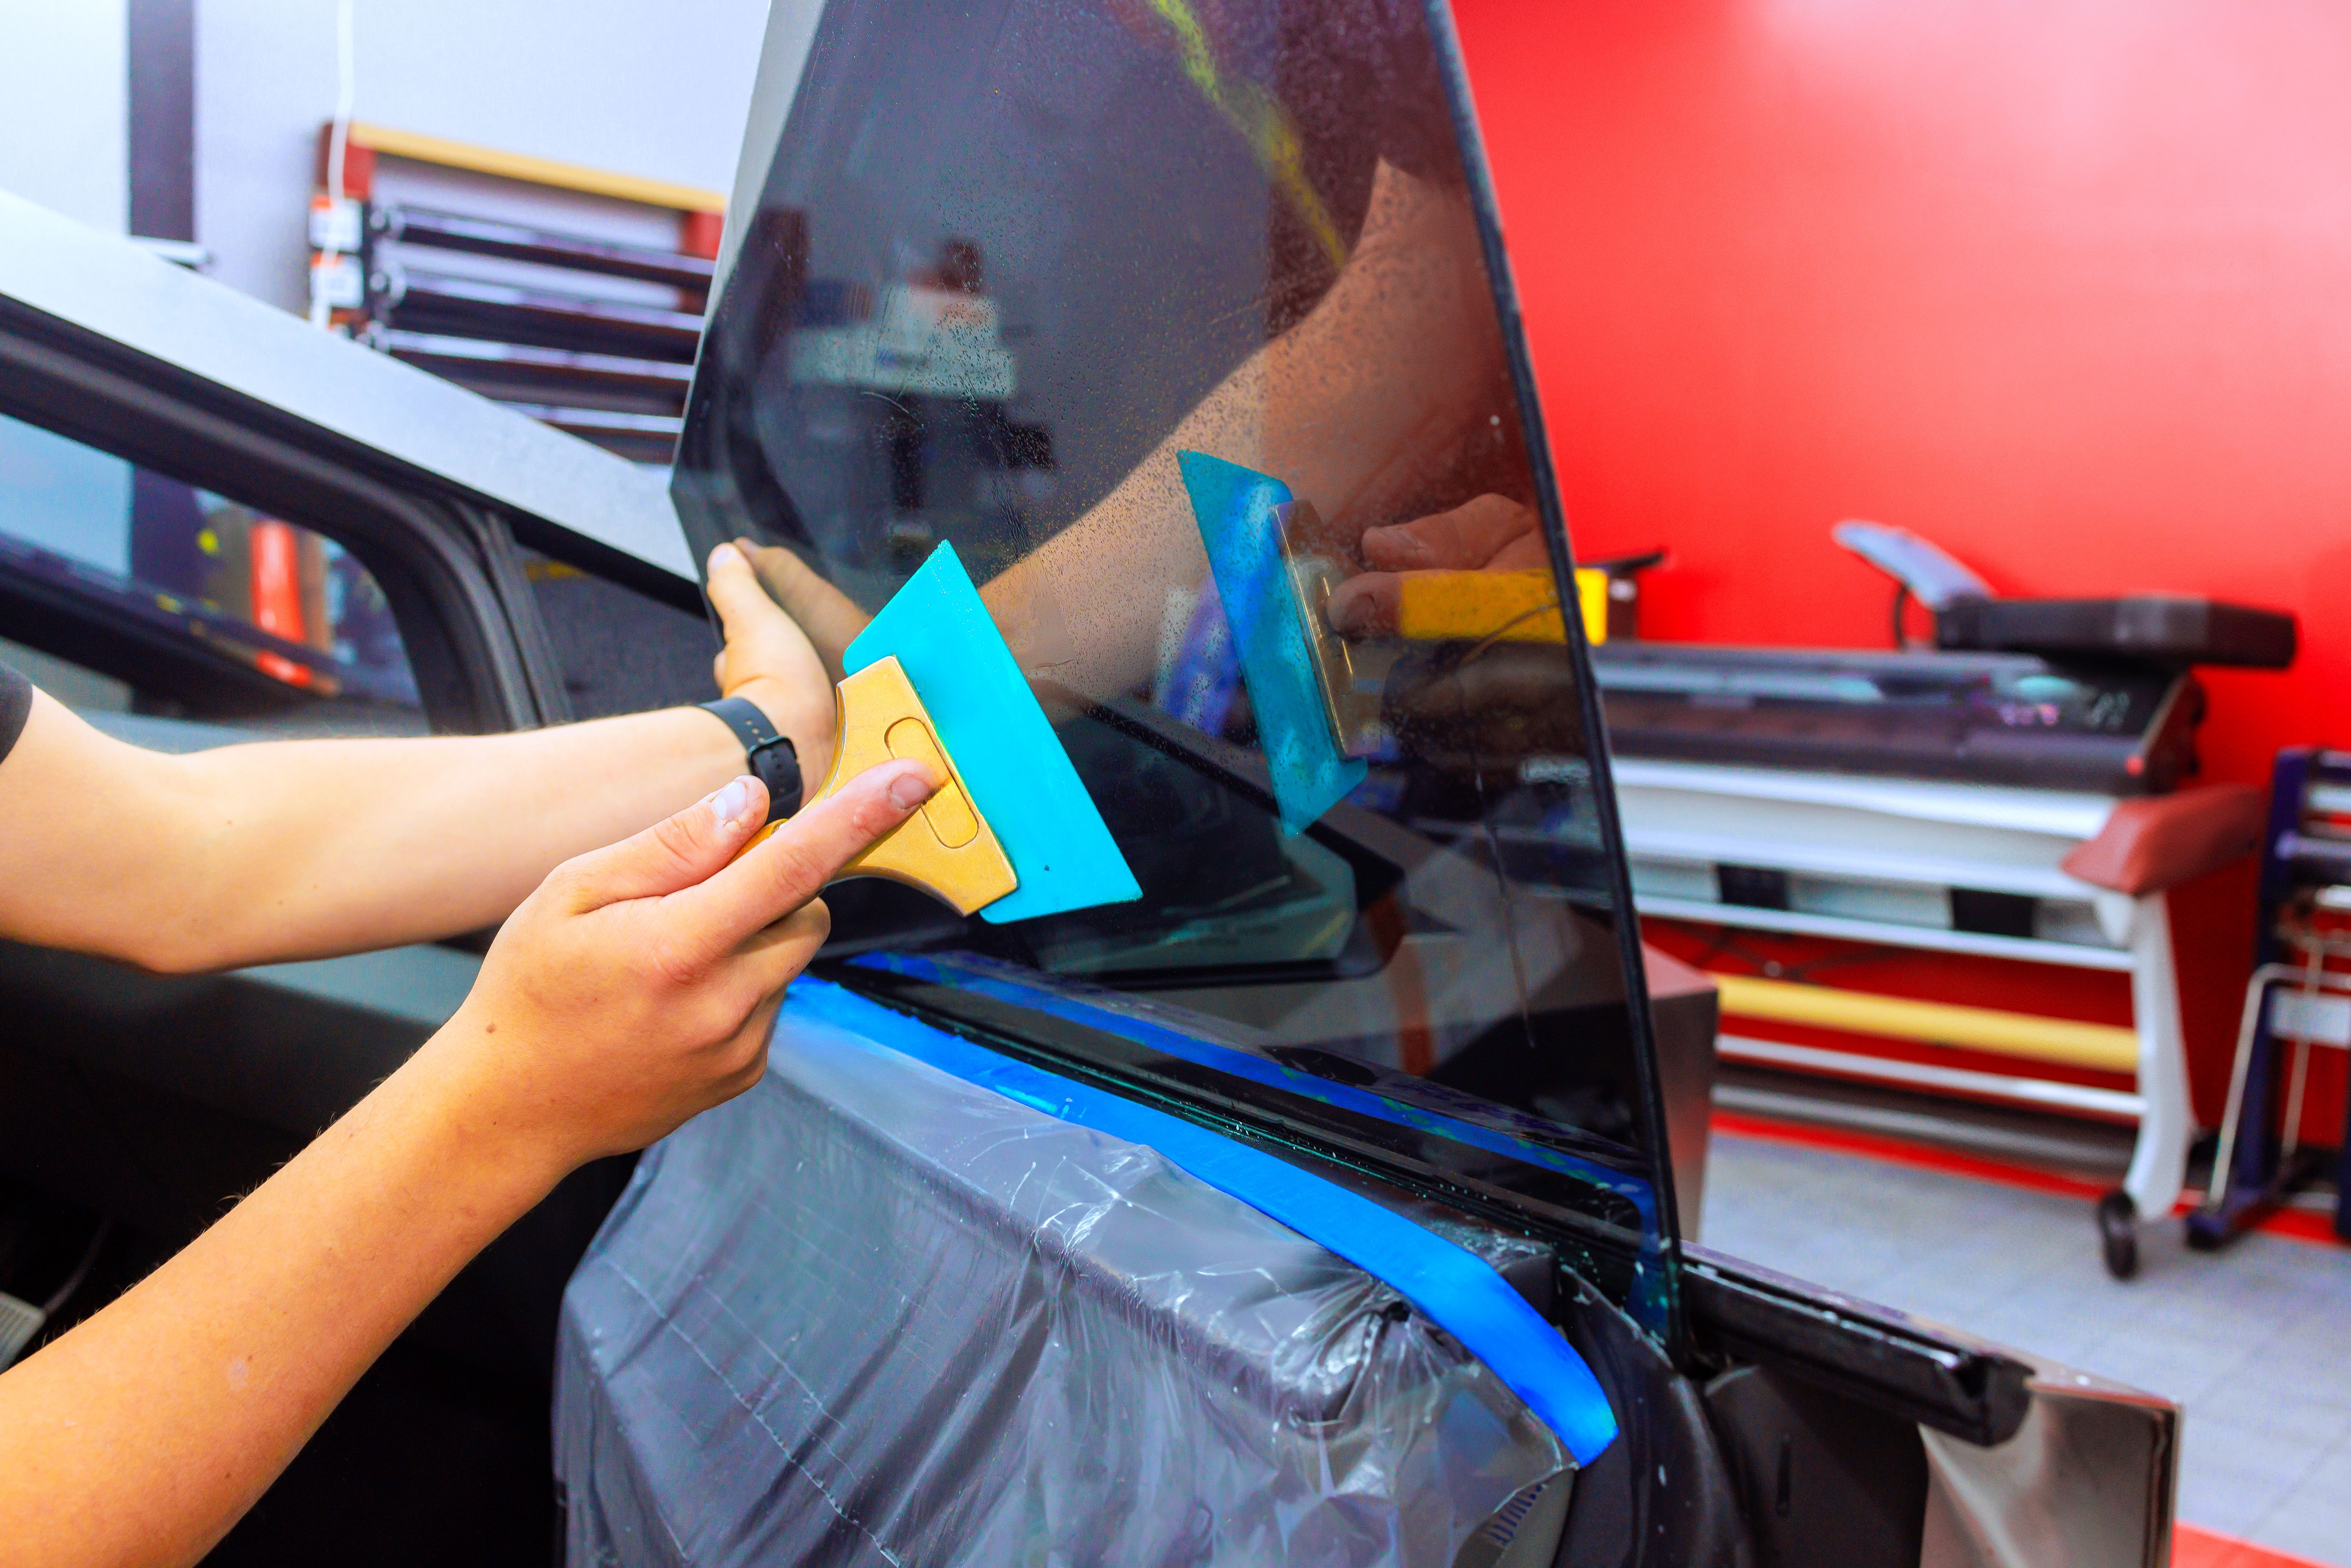
Begin by carefully peeling the backing from the tint film and spraying a generous amount of application solution onto both the adhesive side of the film and the window. This solution helps to position the film correctly without it sticking immediately.
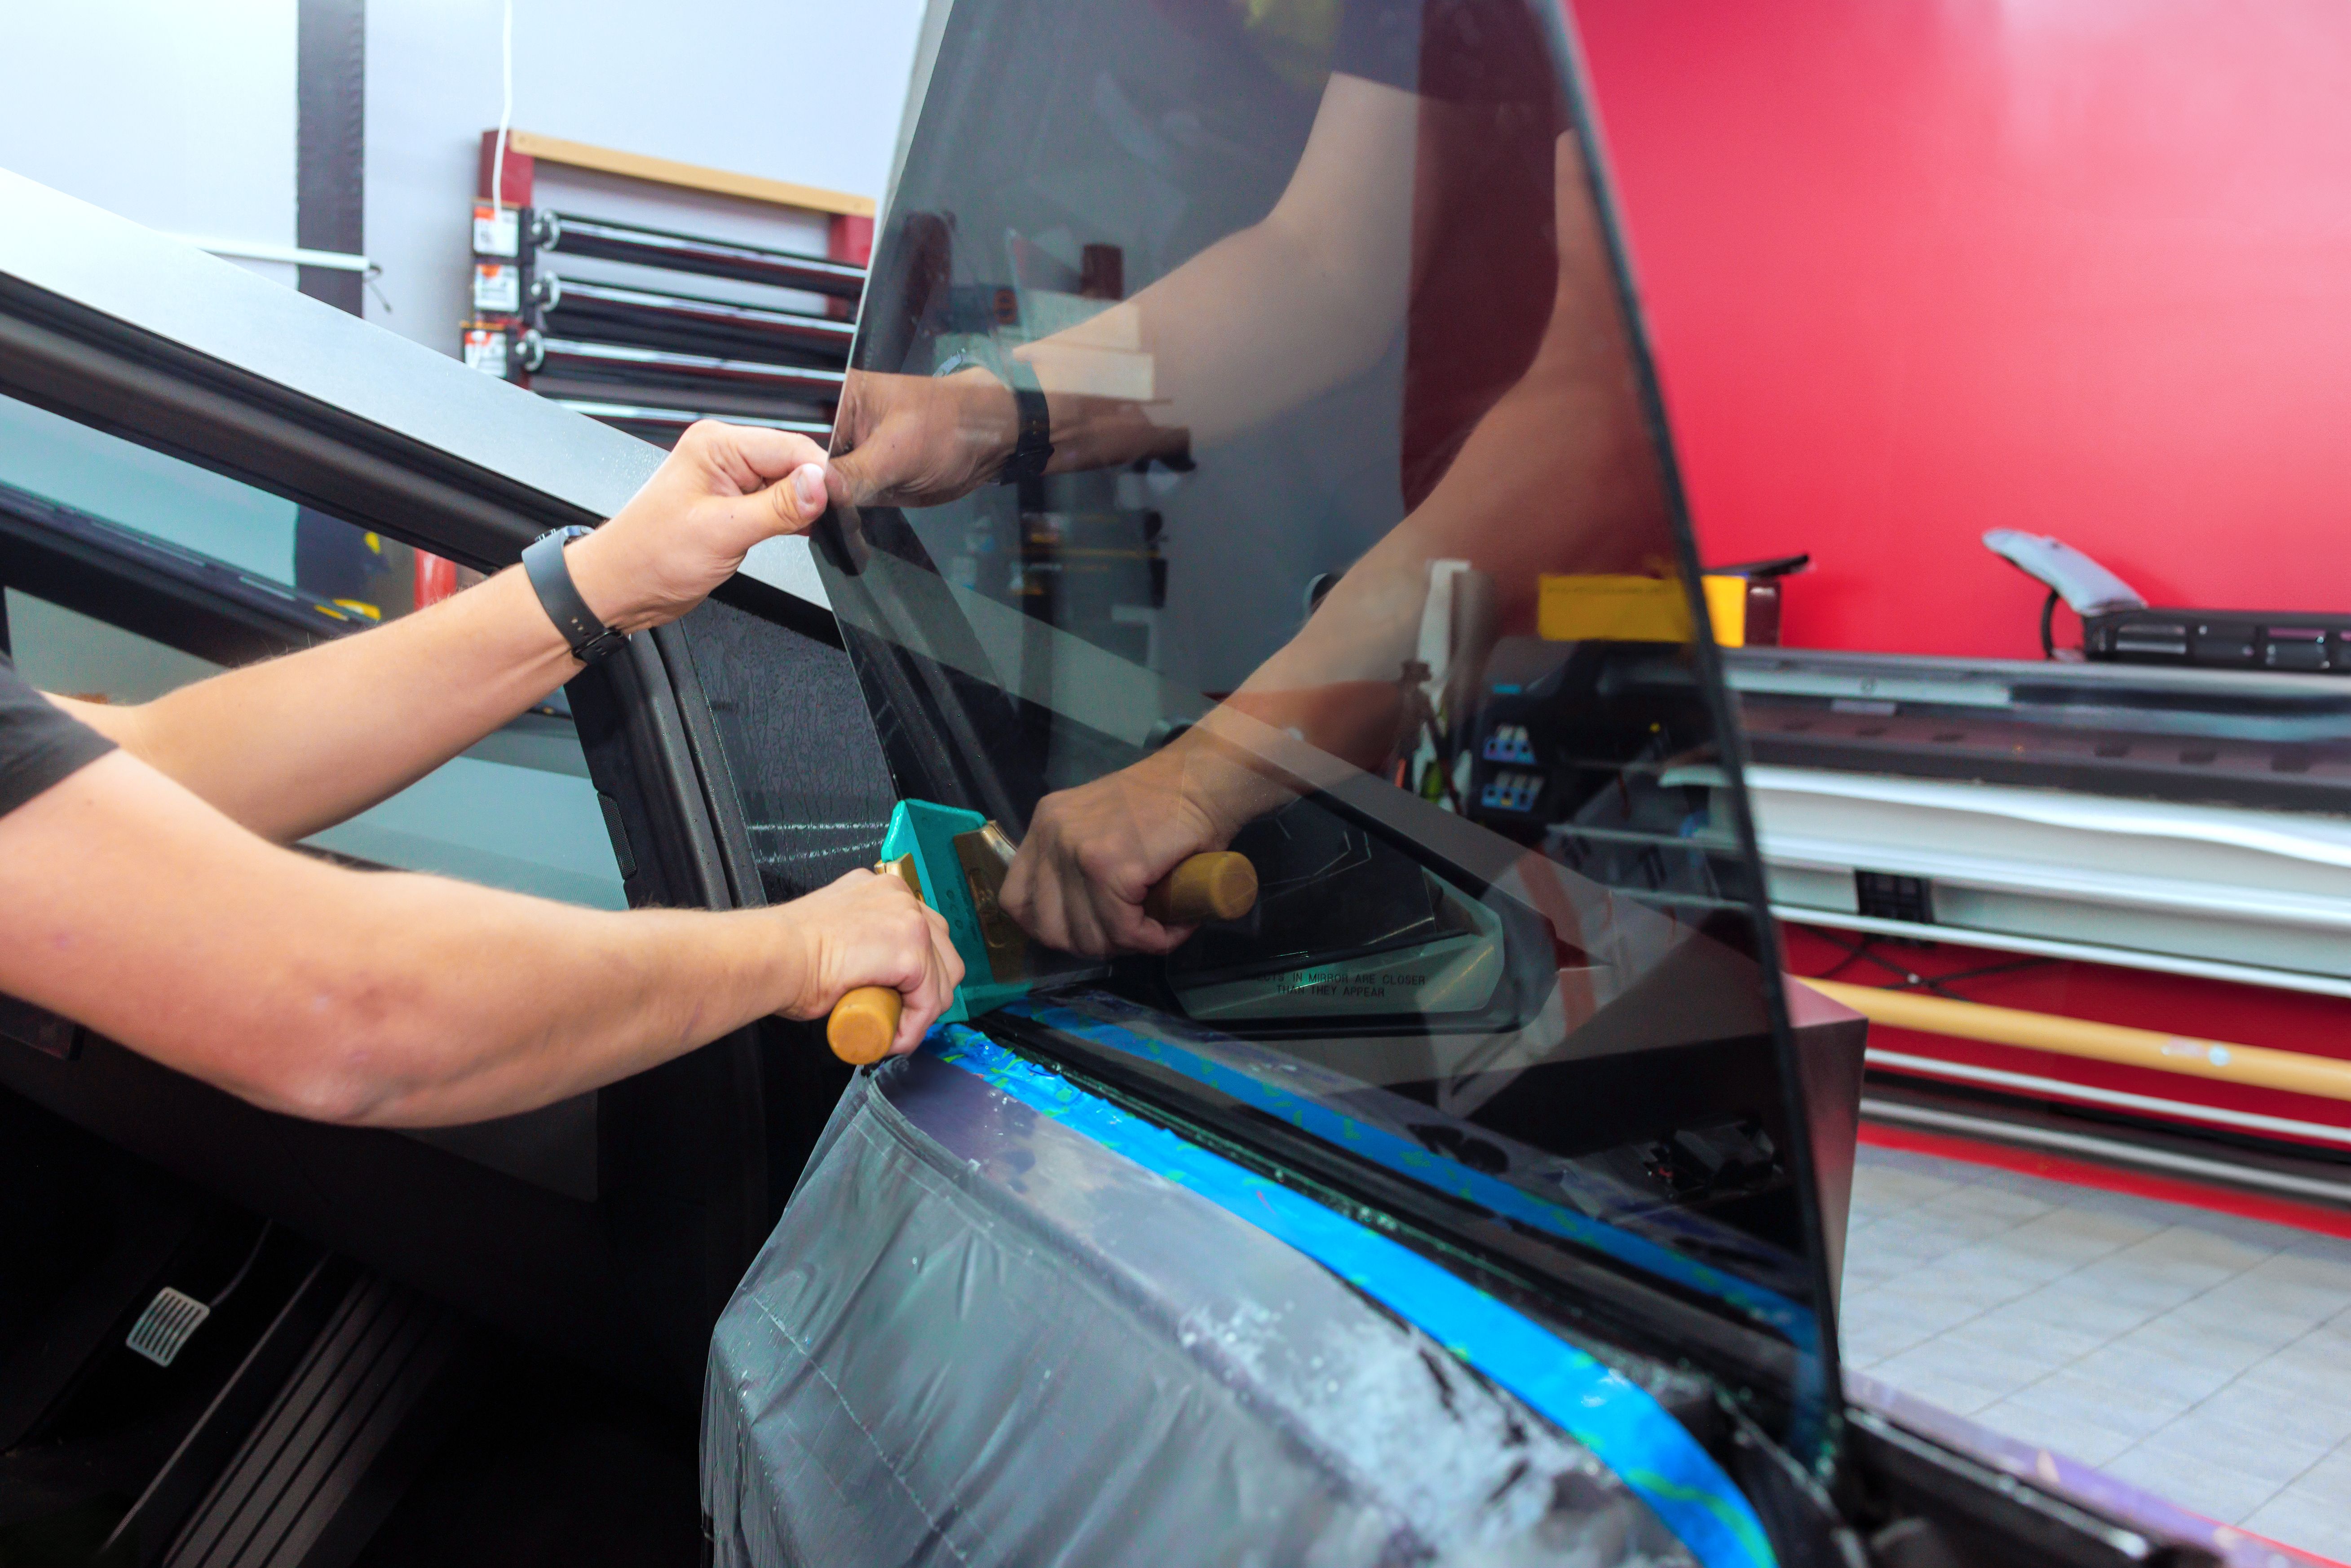
Using a squeegee, start from the center of the window and work your way outwards to remove air bubbles and excess solution. A heat gun can be used to help mold the film around curved surfaces and ensure a tight fit.
Finishing Touches and Maintenance
Once applied, trim any excess film with a sharp utility knife for a clean edge. Allow the film to dry completely before rolling down your windows—this typically takes a few days depending on humidity levels.
To maintain your new tint, clean your windows with non-abrasive cleaners and soft cloths. Avoid using ammonia-based products as they can degrade the tint over time.
Common Mistakes to Avoid
Avoid rushing through the process or skipping steps. Each phase of tinting is crucial for achieving a professional look. Be patient, especially when dealing with air bubbles and edges.
Another frequent mistake is not testing the fit before final application. Always dry-fit your film to ensure it covers the window adequately before peeling off the backing.
Conclusion
Tinting your car windows yourself can be a rewarding project if done correctly. With careful preparation, the right tools, and attention to detail, you can achieve a professional finish that enhances both the look and comfort of your vehicle. Remember to consult local regulations and seek advice from experts if needed to ensure the best results.